How to submit hours on projects
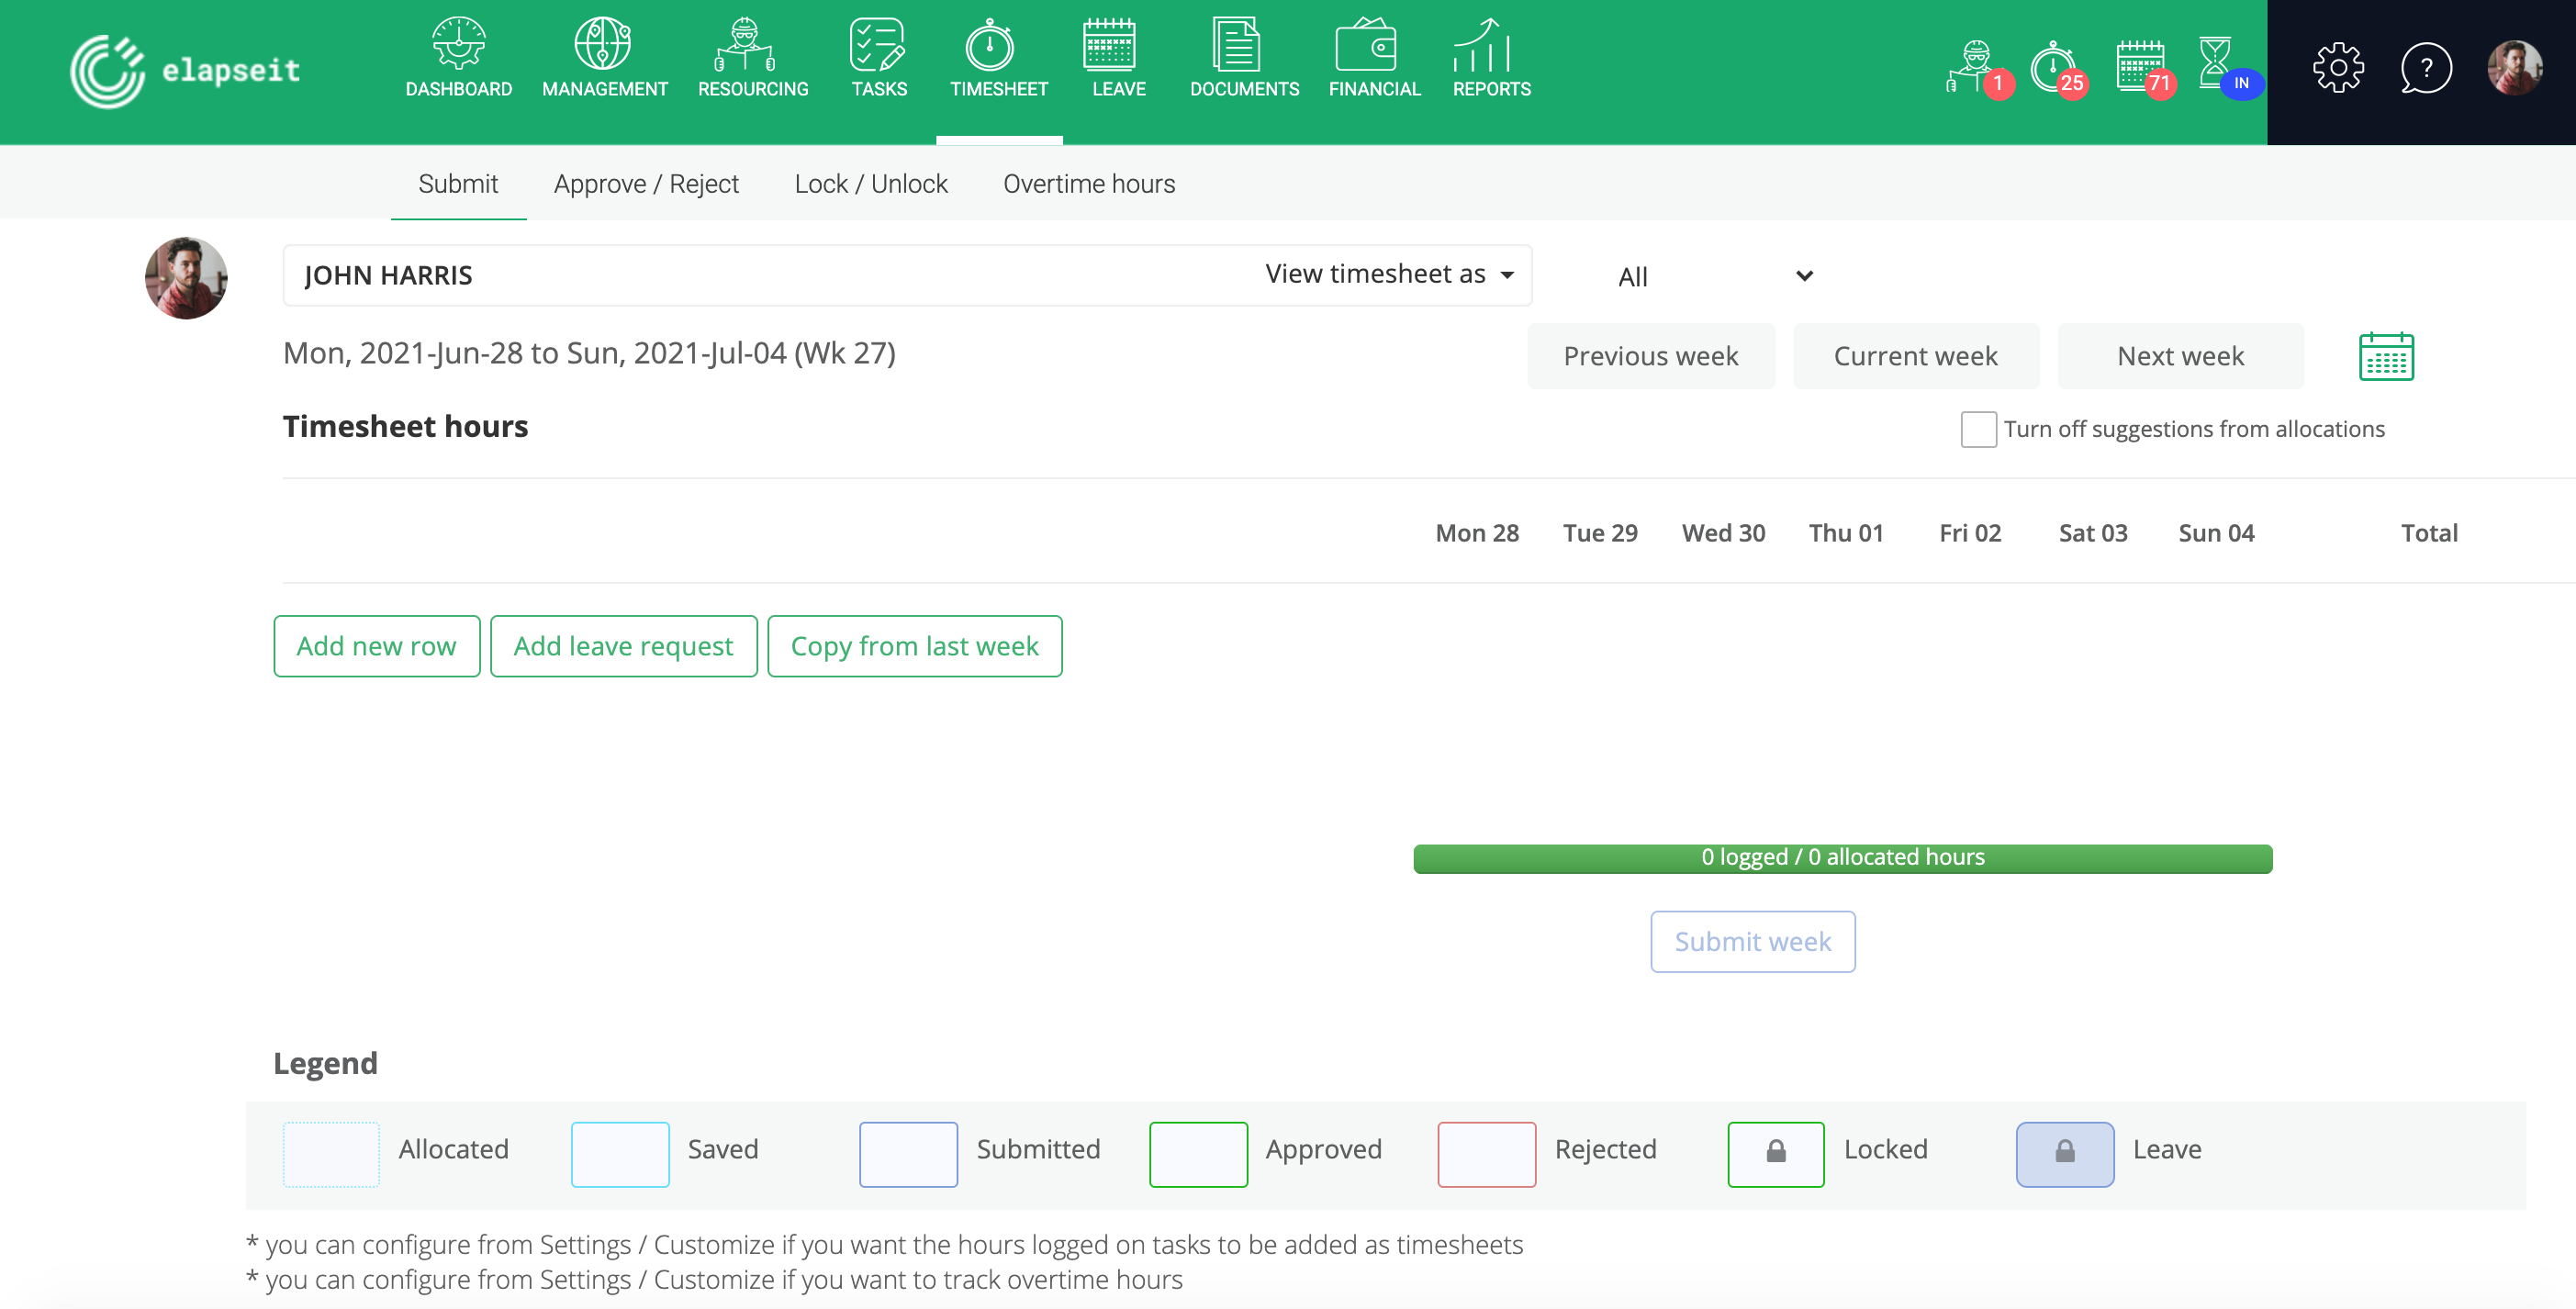
Every user can submit hours easily, just go to “Timesheet”, from menu, and then on “Submit” tab.
The view of the timesheet is per week and you can easily navigate from one week to another by using the navigation buttons above the timesheet
- There are no allocations or the suggestion from the allocations are turned off
If you were not allocated to a project or you chose for the suggestions from the allocation to be turned off, the timesheet will be empty and you will have to “Add new row” with the project you worked on.
To do this you will have to click on “Add new row” button and a list of projects will be visible for you to choose from. If you cannot find the project you are looking for, that explanation is that the project is set for only the team members to be able to log hours on it, so you need to discuss with the project manager, to give you access to that specific project.
This setting helps the project manager to avoid mistakes of other people adding hours to his project, and consuming budget, without him being aware of it.
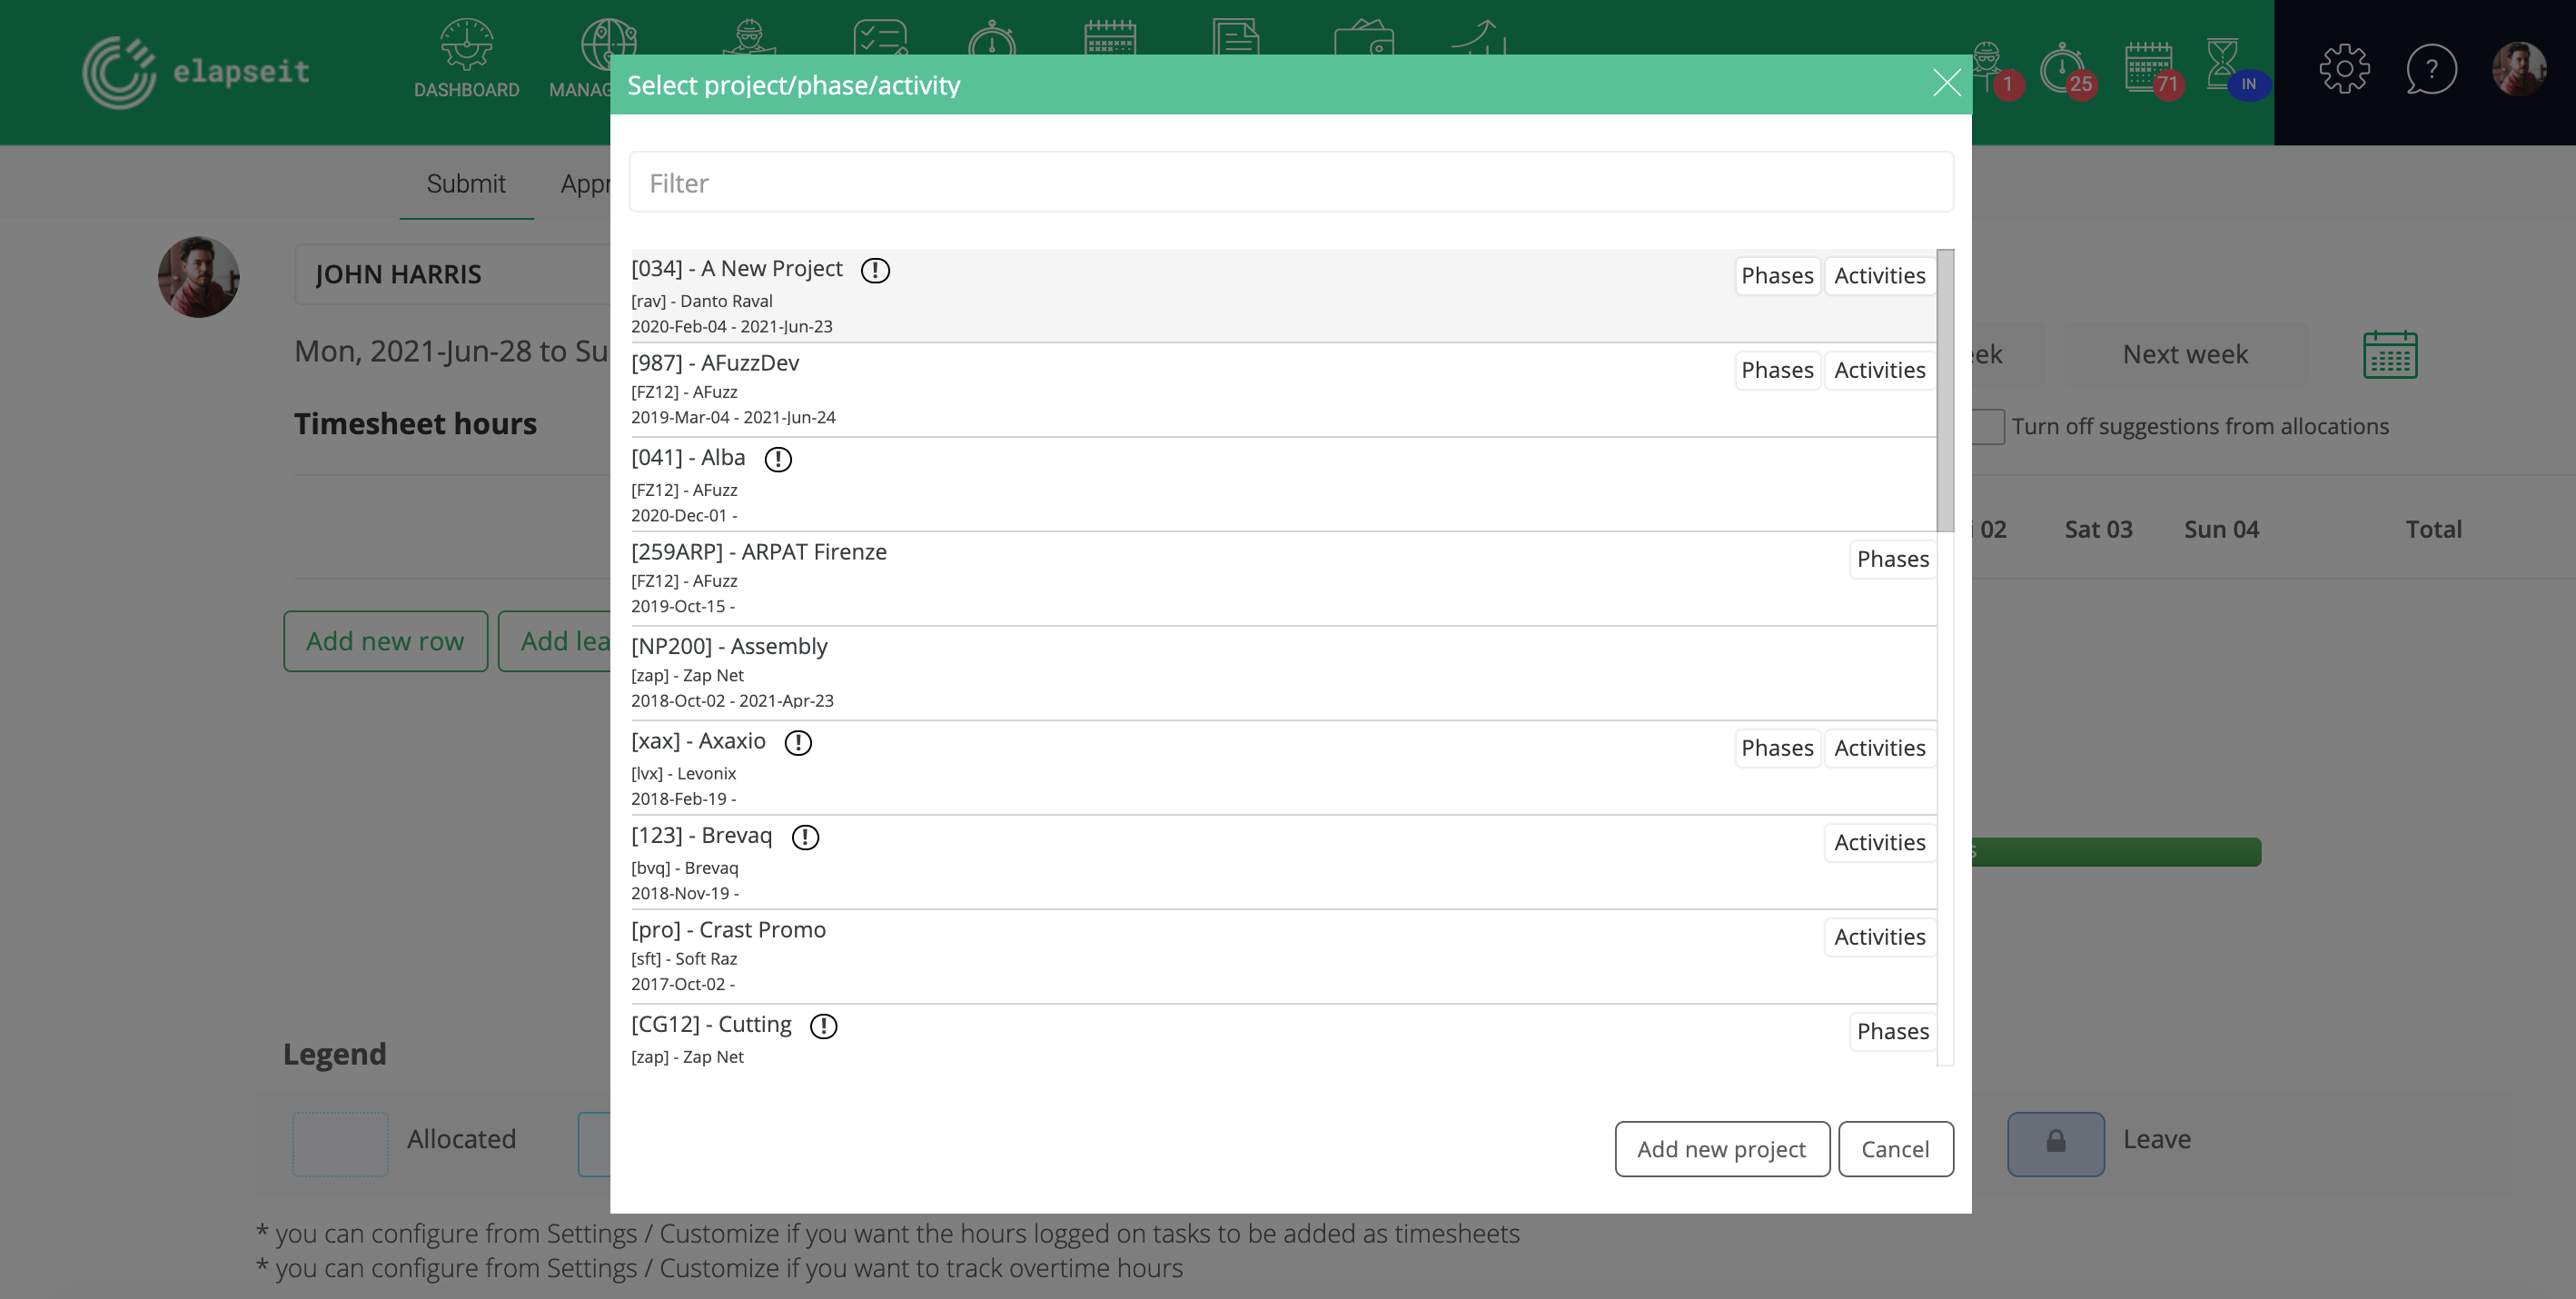
You can log hours:
- directly on a project
- if the project is split in phases, you can choose the phase on which you want to add the worked hours
- if the phase is split in activities, you can be even more clear regarding your work and add the worked hours on an activity of the phase.
- if the project has activities that are not part of any phase, you can choose to log hours directly on an activity.
After you choose the projects, phases or activities that you want to log hours on, this is how the timesheet will look like:
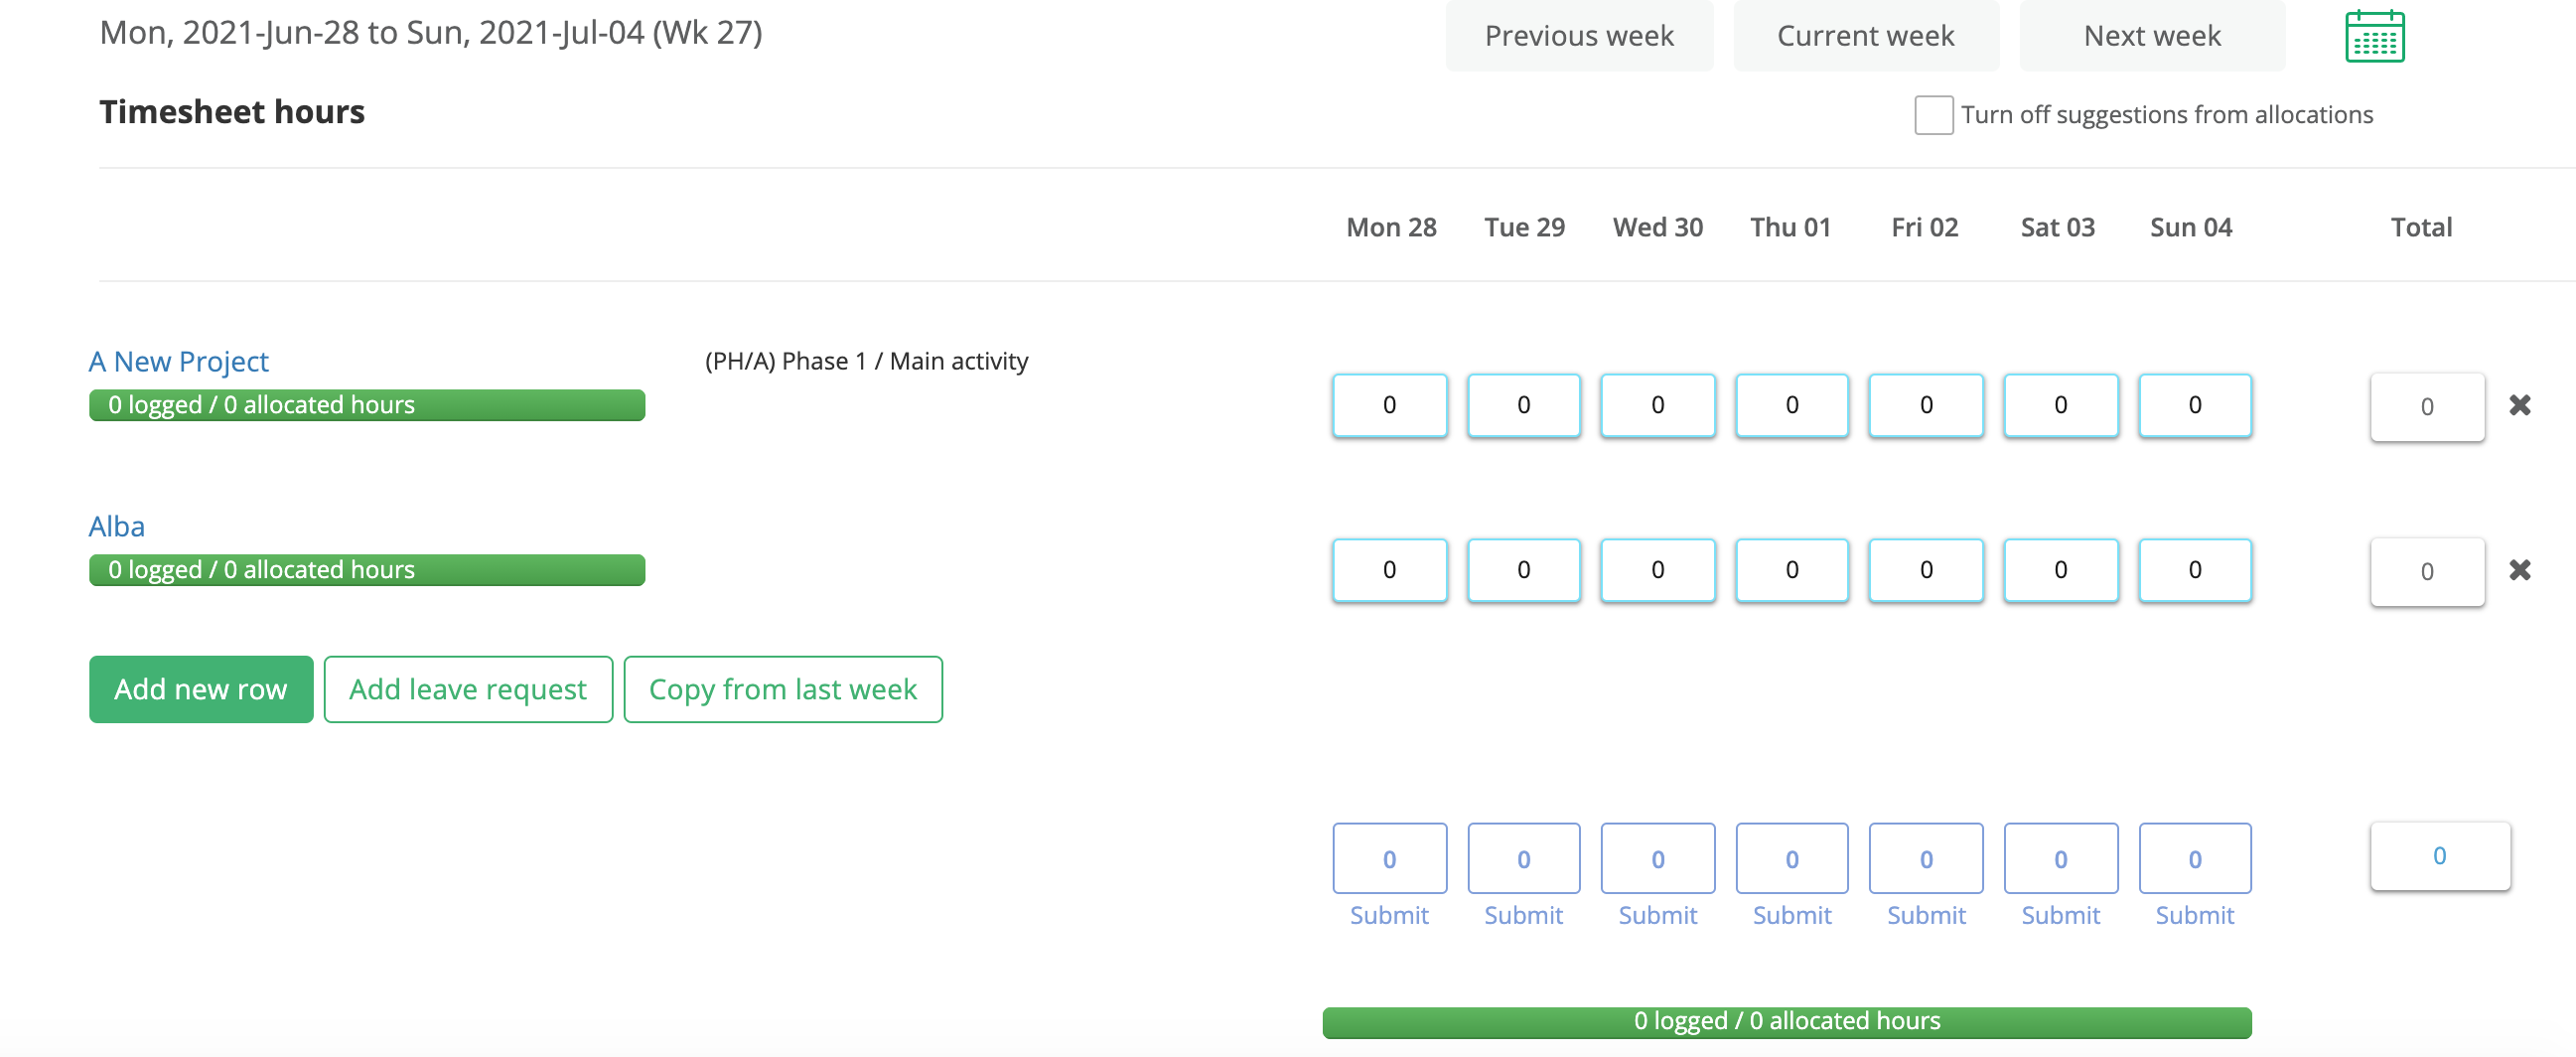
The name of the projects are displayed in the first column on the left side and immediately after are displayed the name of the phase, activity per phase or activity directly on project.
The statistic bars are already filled, and they are green, because you were not allocated on the project, so 0 hours logged is OK; when you will start logging hours in the projects, the statistic bars will change to red, because you log hours that were not allocated by the project manager – so, you are “over” the planning of the project.
To log hours, you will simply have to click on a blue cell and to add the number of worked hours. You can also add a comment/note for the hours added. The notes ca be split, this way the number of logged hours per that day is split, and you can add more than 1 comment for the logged hours, and you can also mark how many of the total hours are considered overtime.
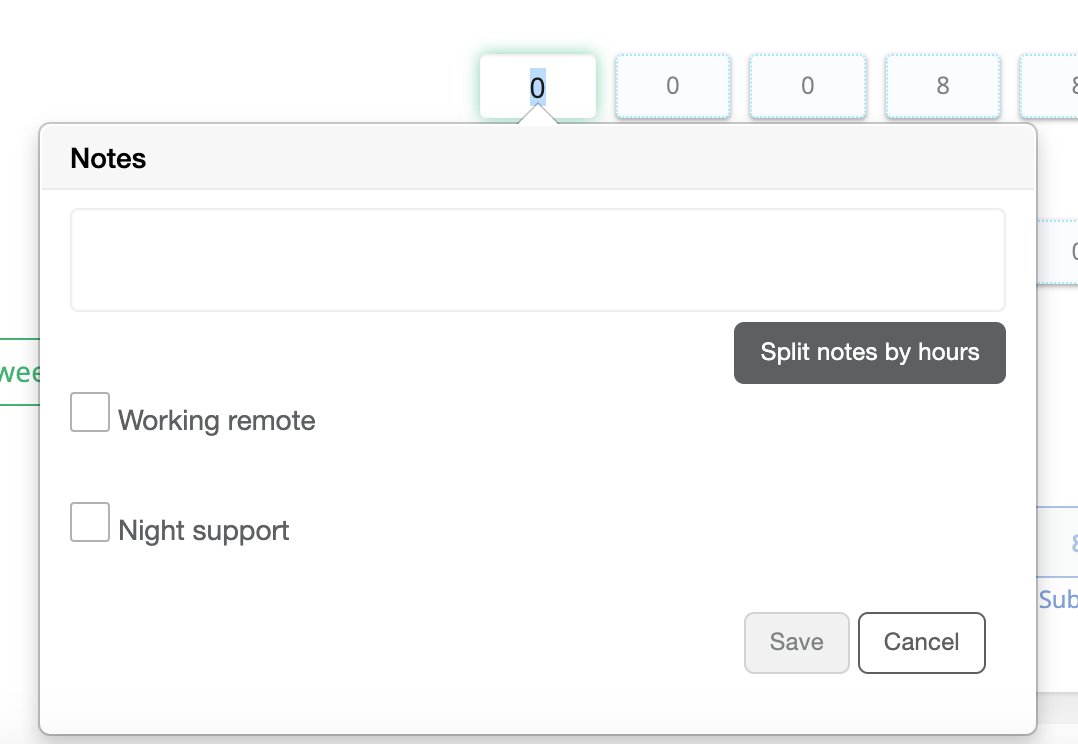
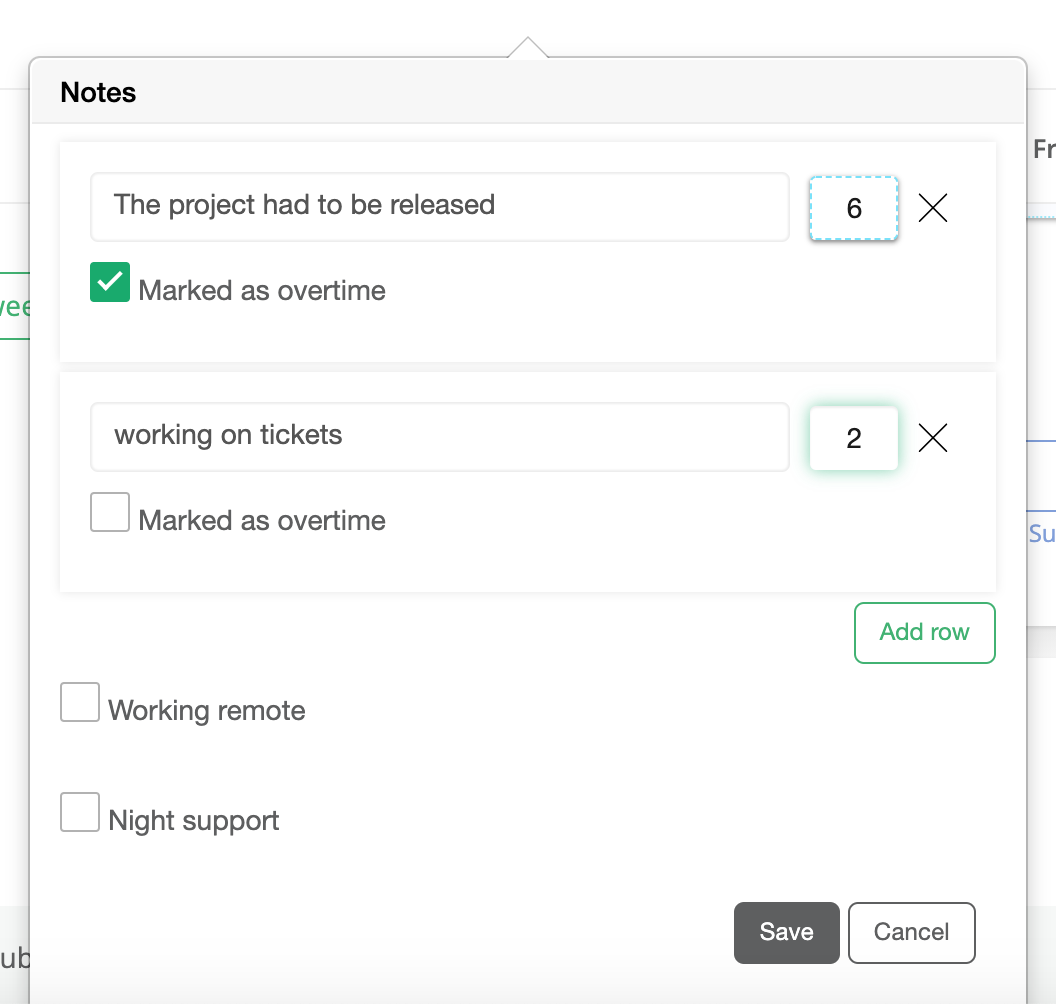
If the account is set for the timesheet to only be submitted with comments (“Settings” -> “Customize”-> “Timesheet & Time clock” -> “Timesheets cannot be submitted without comments”), before you submit your time for approval, you need to add notes/comments for all the hours that you logged:

After the hours are logged you can submit them either by day or by week, with just a click on the overview for the day (the box with the total of hours for the day) or by clicking on the “Submit week” button.
The submitted hours go for approval at the project manager (so the box with the hours will be dark blue while waiting for approval) or they are automatically approved, if the project is set this way, so no higher management should approve the hours (the box becomes green).
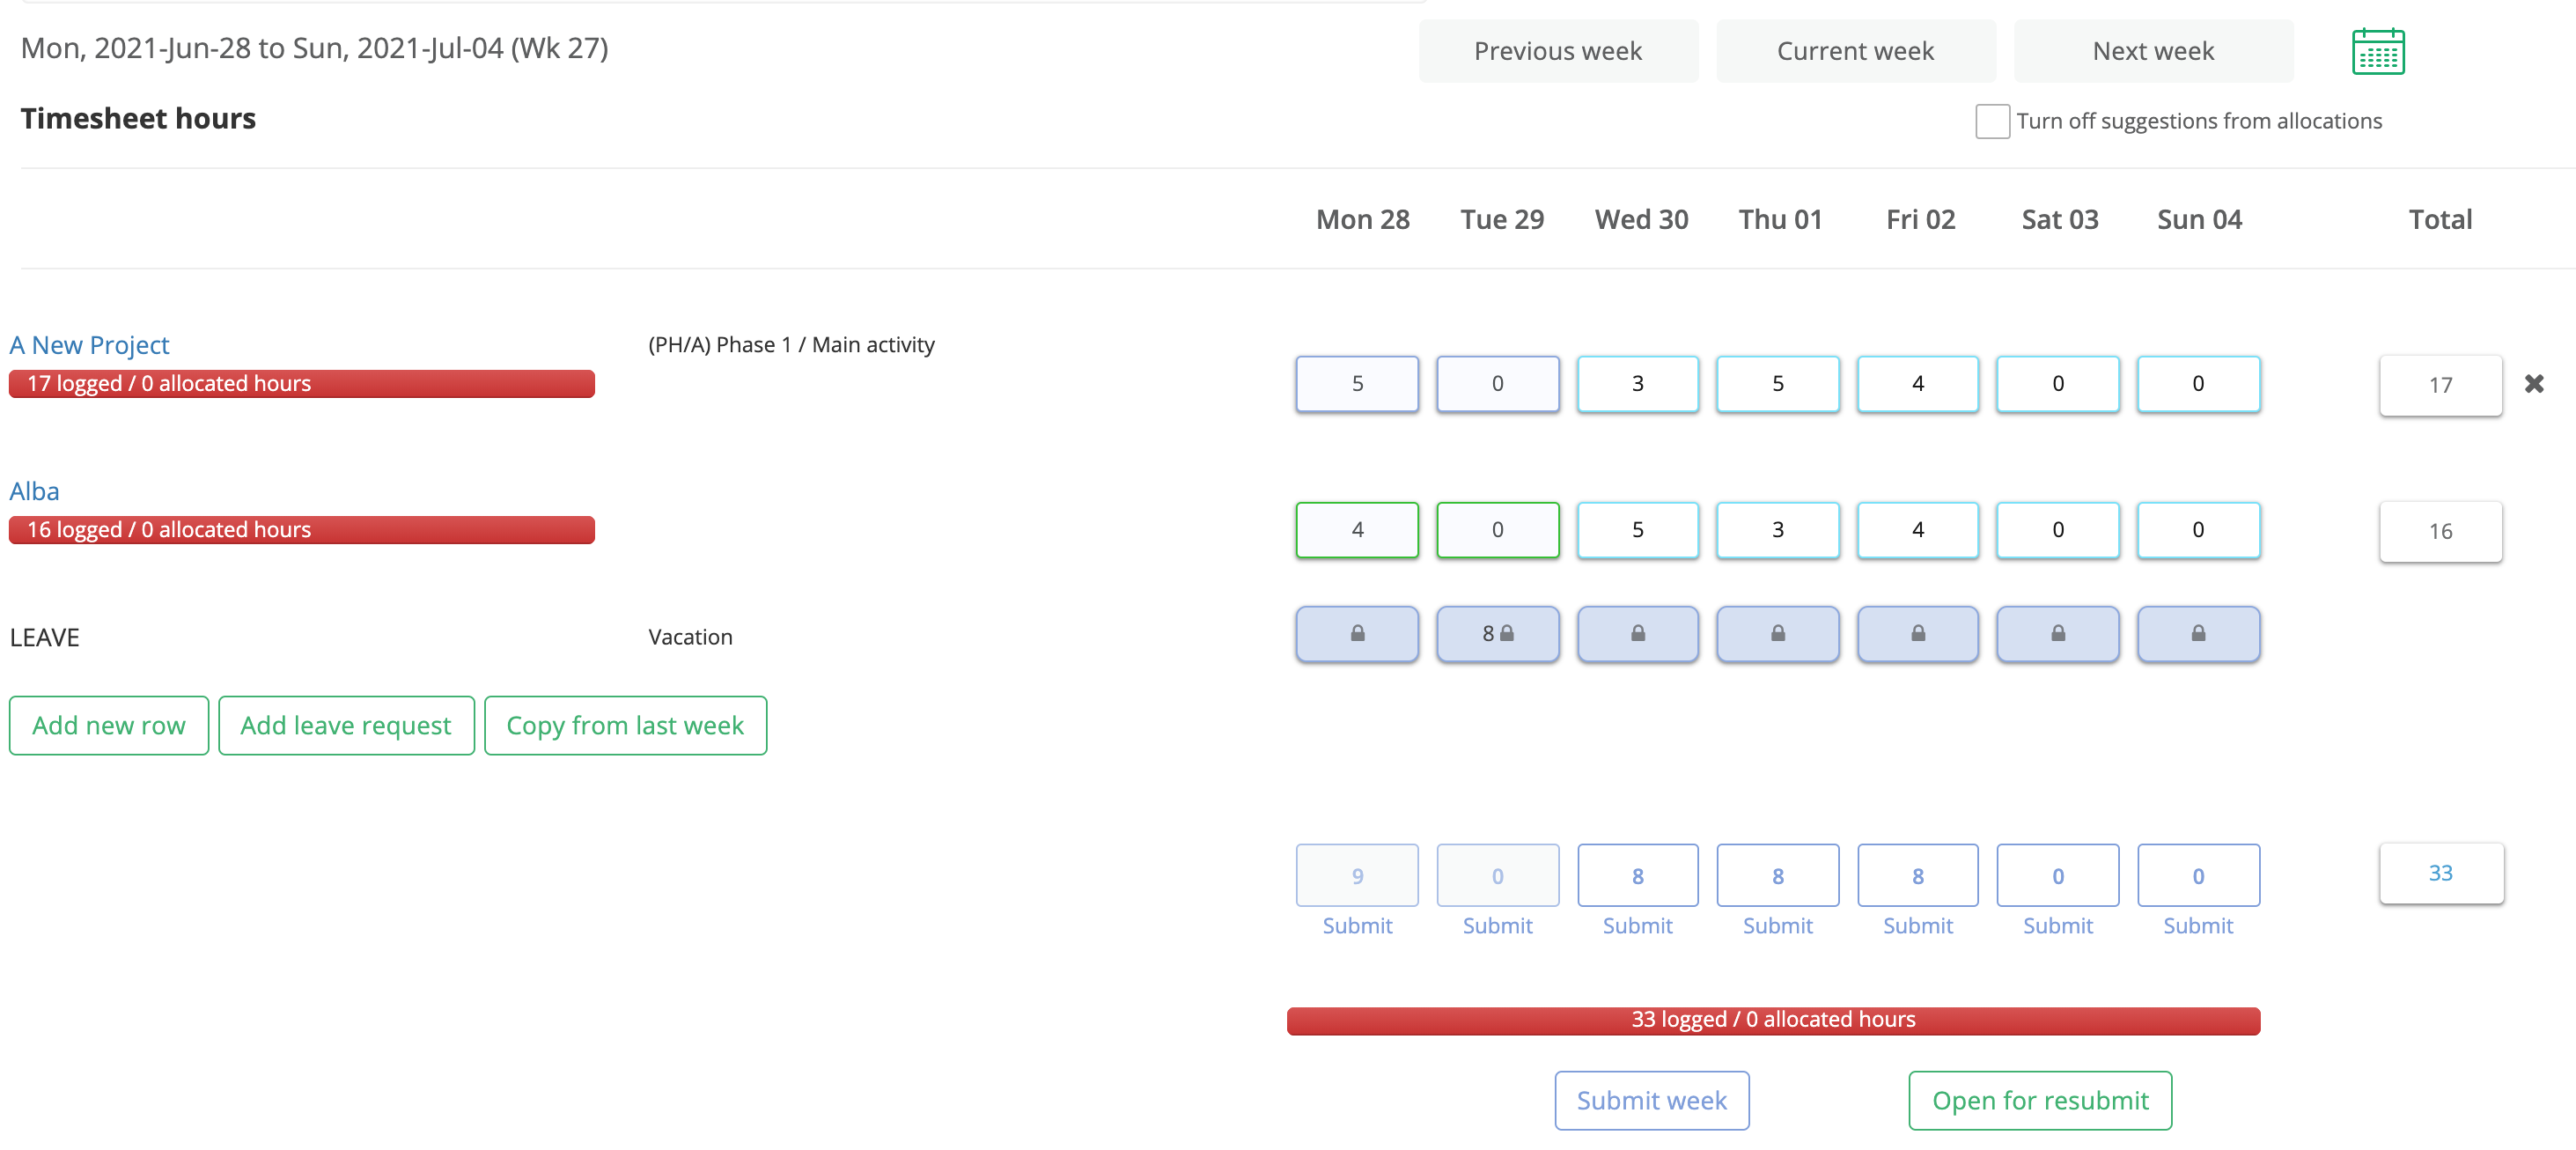 If the approved hours need some changing, the Administrator and Accounting access levels will have the “Open and resubmit” button, which will allow you to correct the mistaken submitted hours.
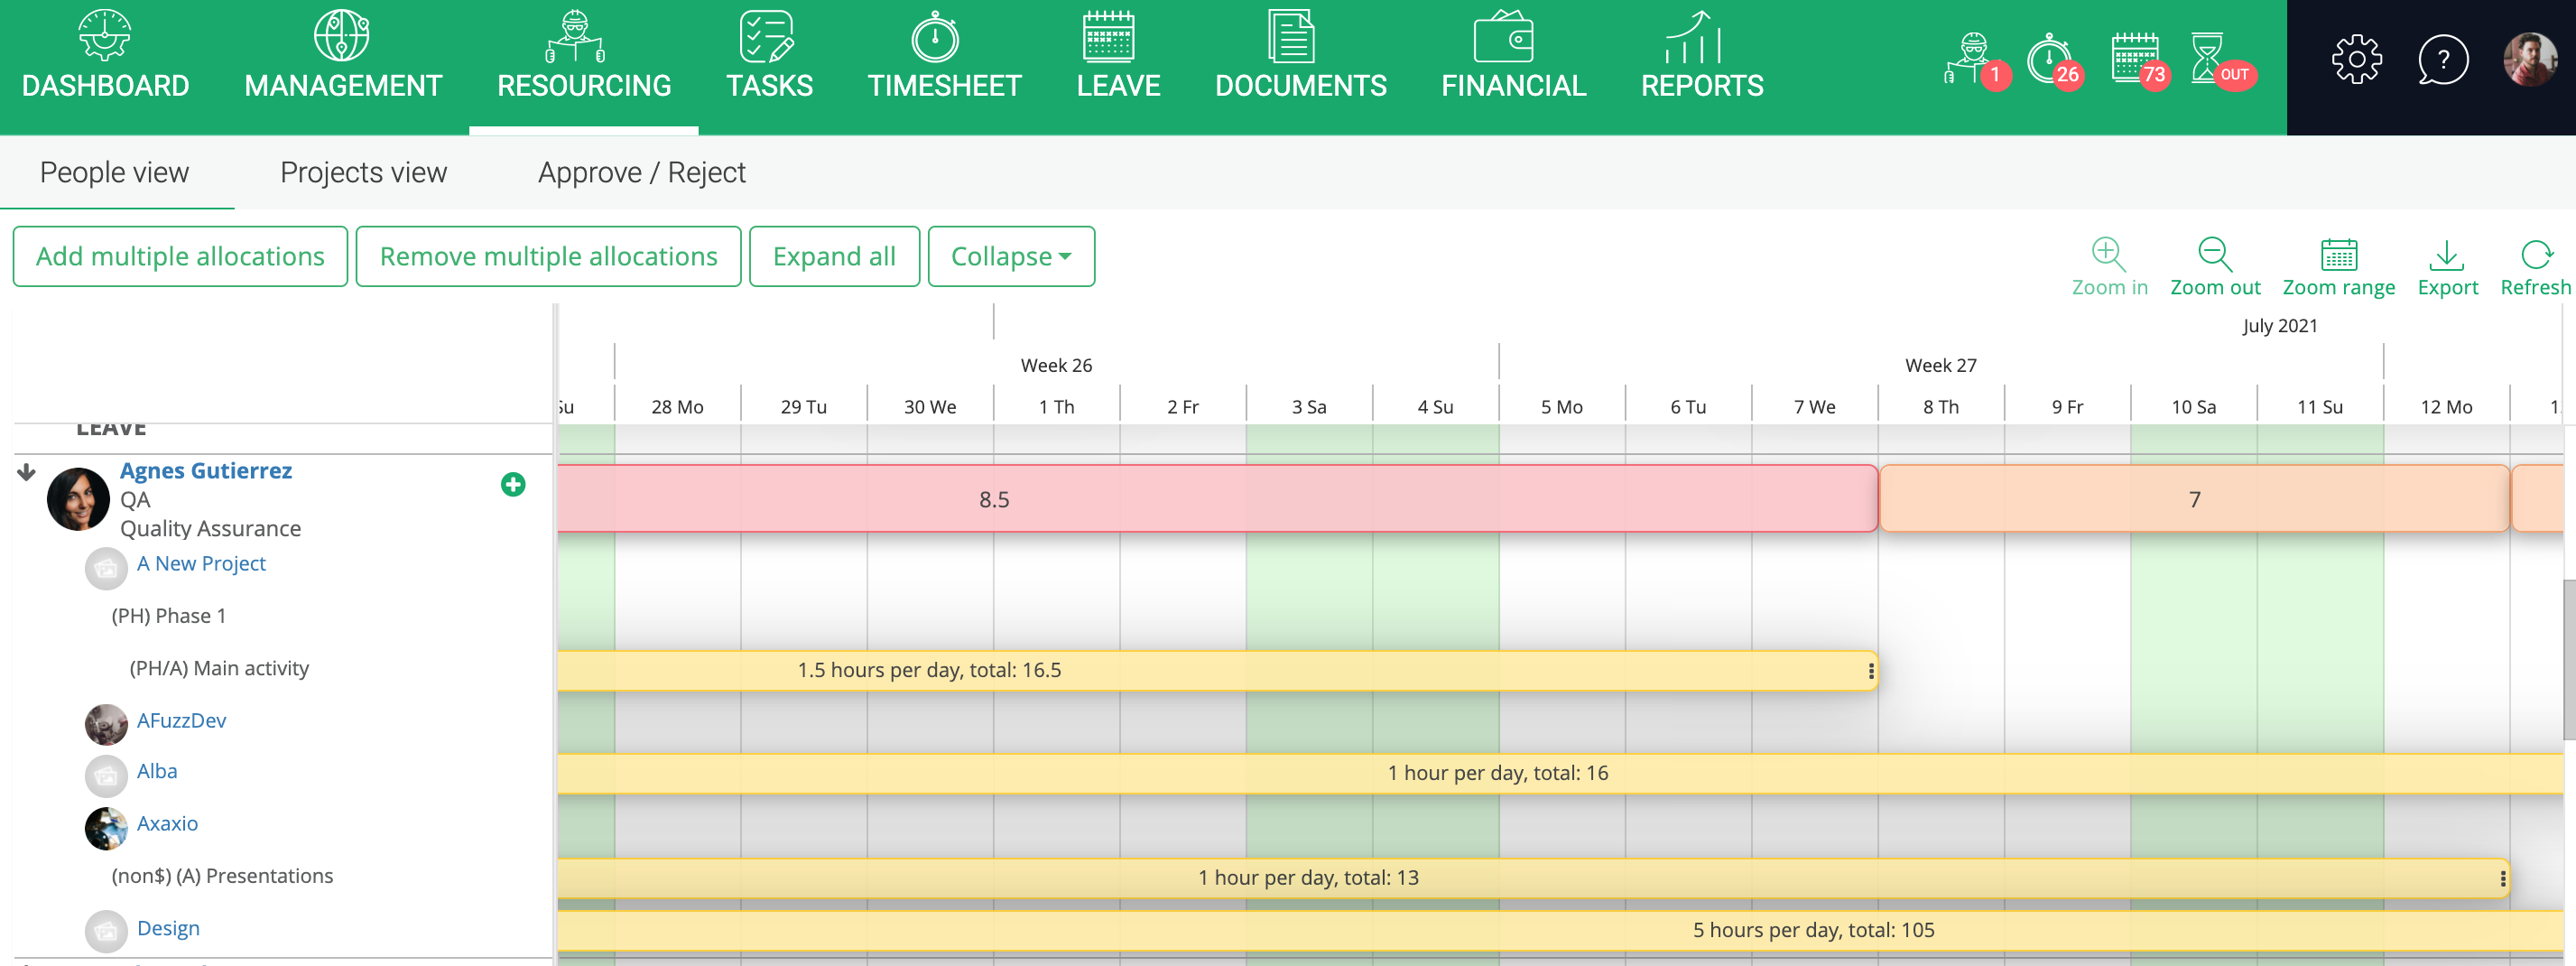
2. There are allocations on projects, phases of project and on activities related to project
In this case, you can go to timesheet, and directly submit the hours – if they are exactly the number of hours that you worked, or you can change the number of hours for any day, to show exactly the number of hours that you worked, and then submit the timesheet:
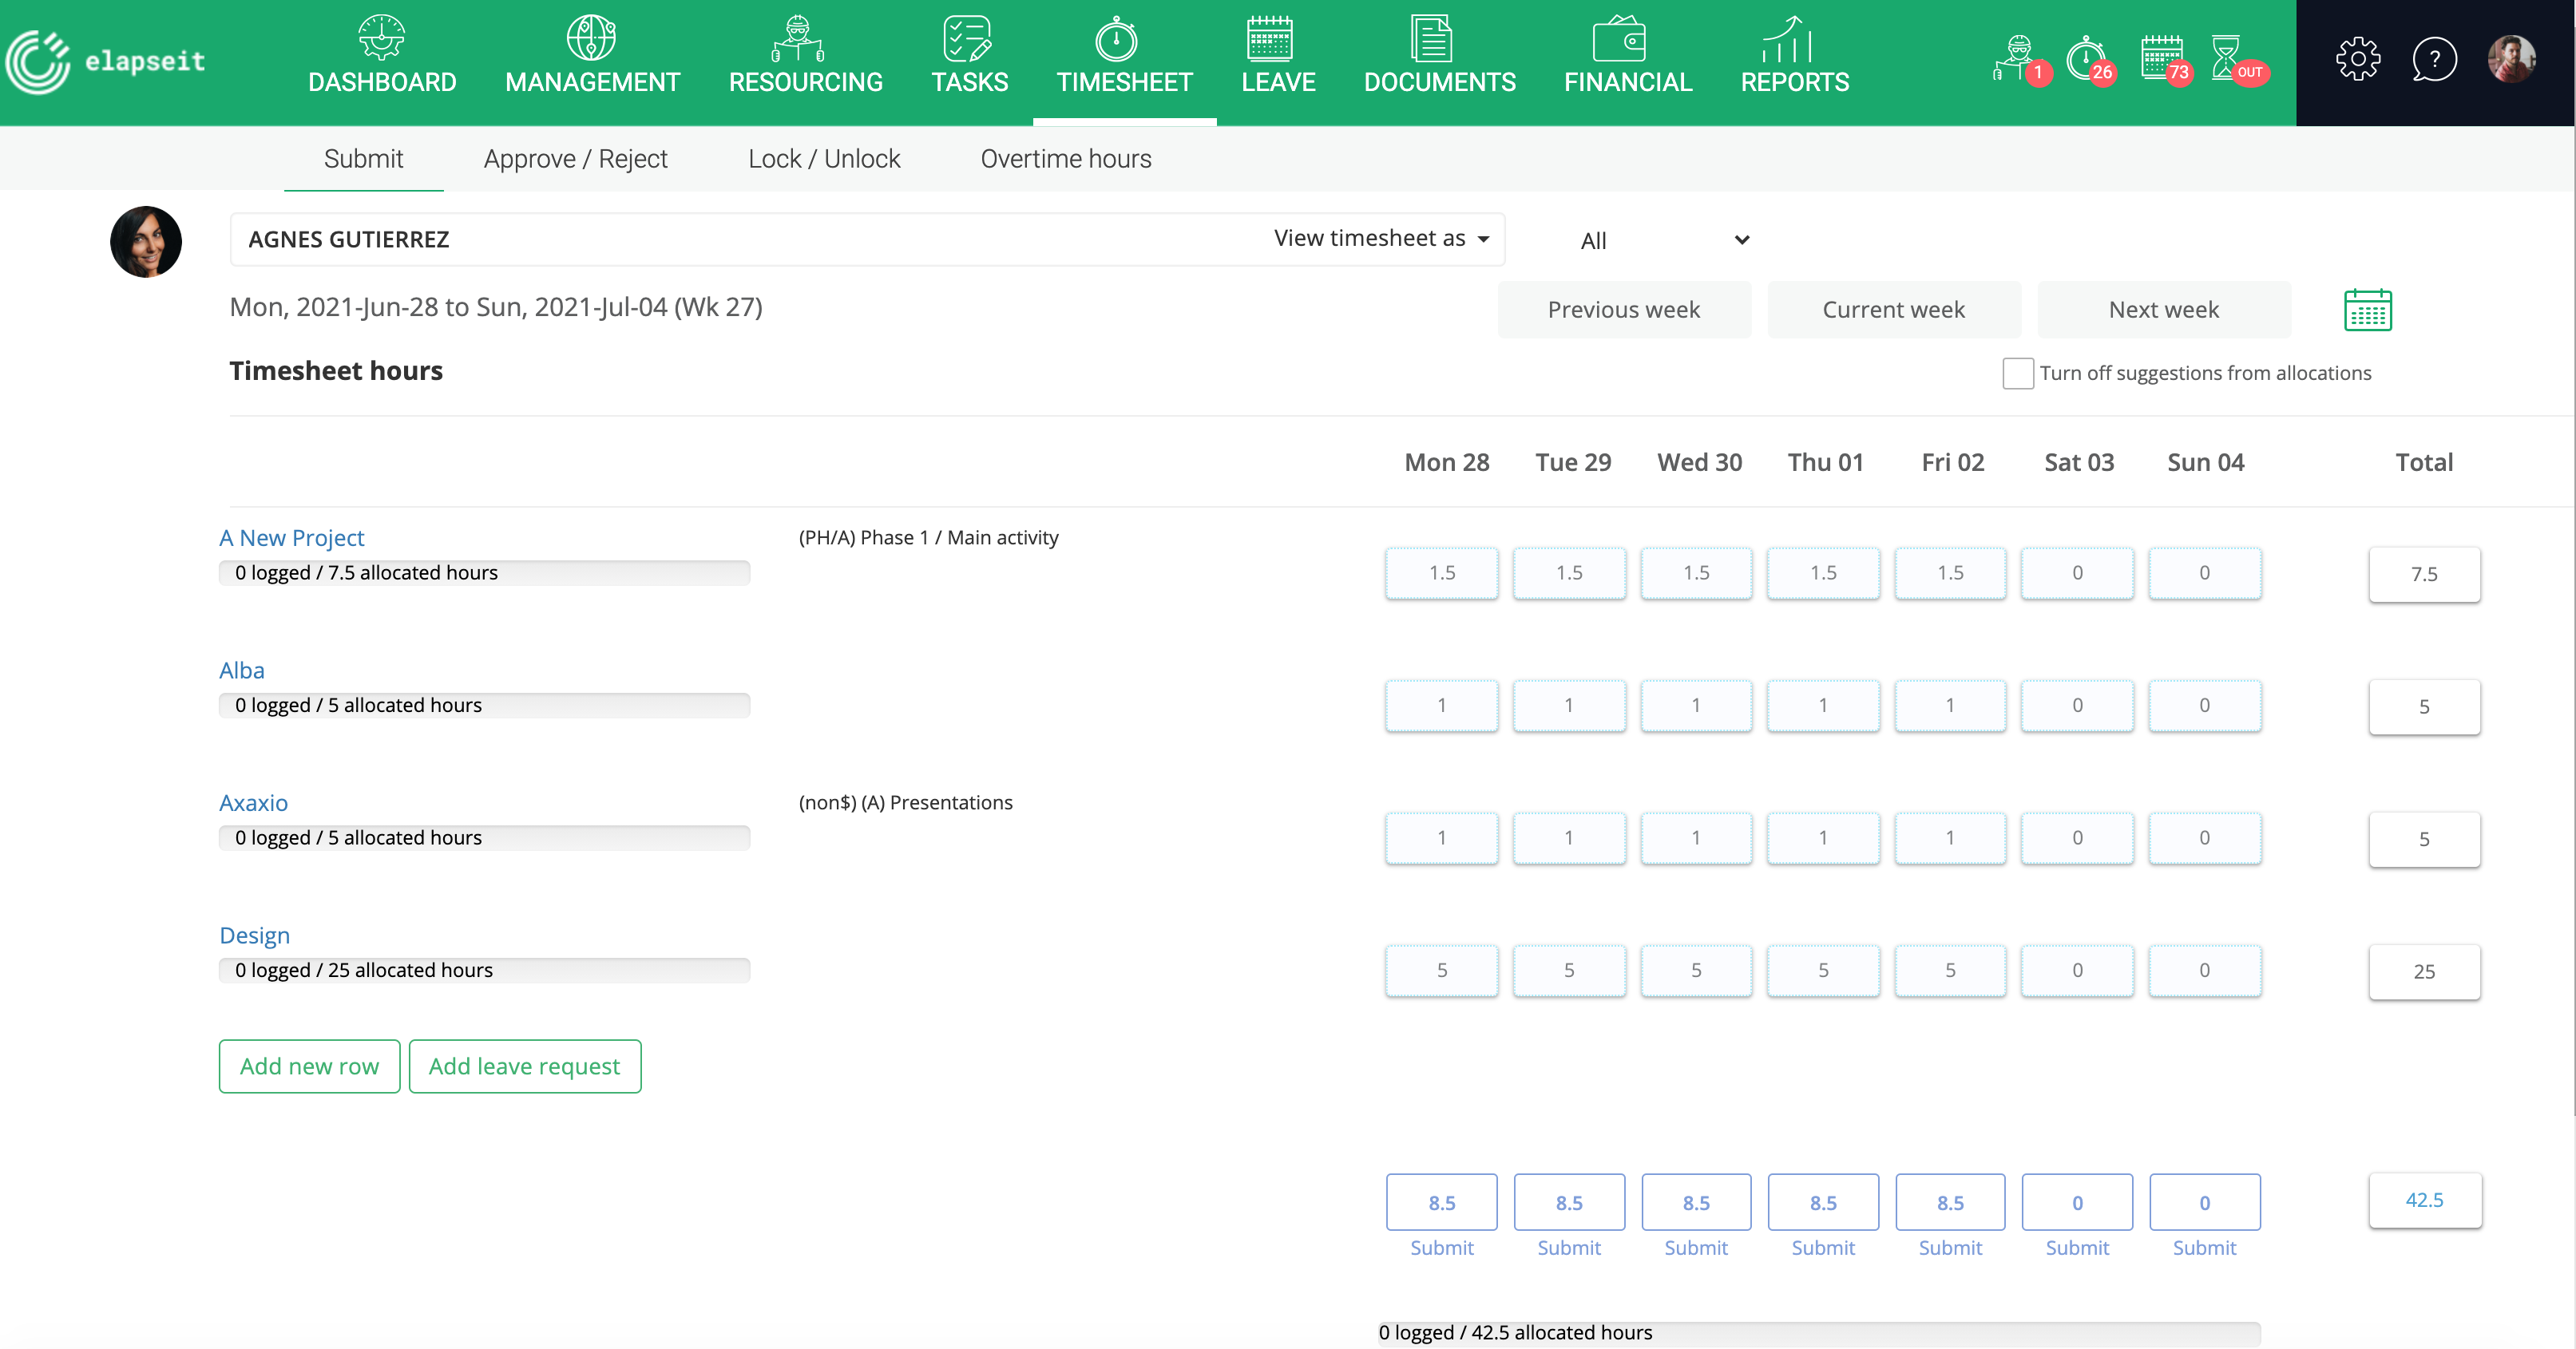
If you worked on an additional project, to which you were not allocated, so it is not visible as a suggestion in your timesheet, just click on “Add new row” and select the project from the list.
