How to make a multiple allocation
Go to “Resourcing” on menu.
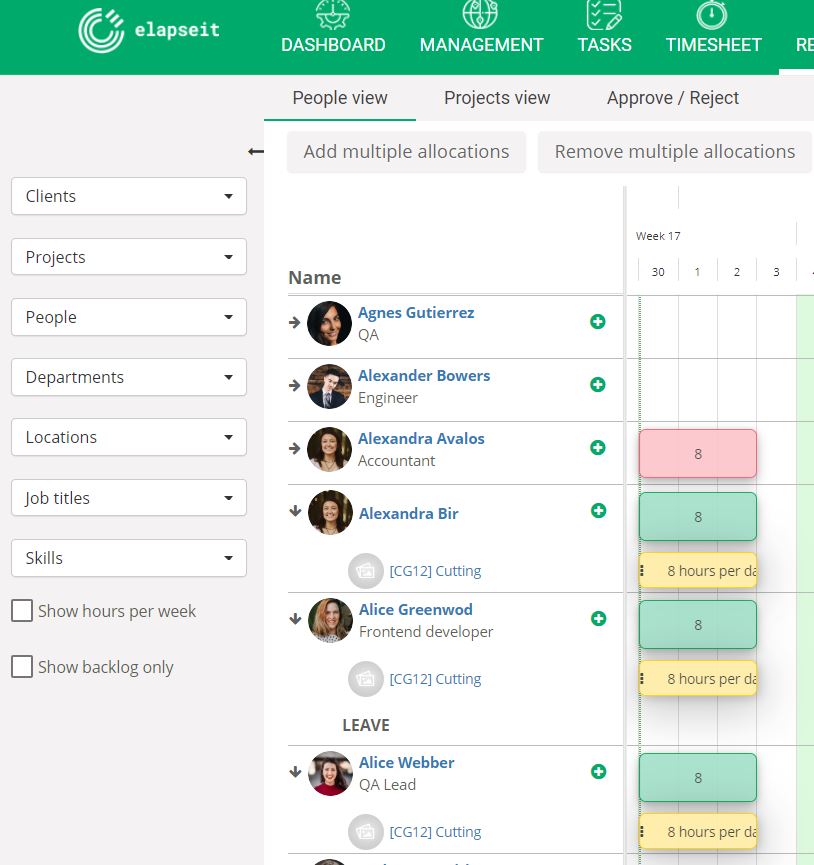
Click on “Add multiple allocations” button from top of the planner.
A pop-up with the list of the persons will appear.
You can select only specific persons for which you want to add allocation or you can “Select all” the person from the company.

The next step is to choose the project, phase or activity on which the person will work and to complete the following details:
- Allocation type: Hours Per Day (if you want to allocate a specific amount of hours for each day for a specific period) or Total hours (the total number of hours for a specific period – the total number of hours will be divide by the total number of business days and it will be automatically allocated for each day an equal amount)
- Allocation value: set the number of hours that you want to allocated for the person (hours per day or total hours, depends how you set on allocation type)
- From: select the first date of the allocation
- To: select the end date of the allocation
- Ignore people with overlapping allocations:
- if you have persons who have been already allocated on the project, you will not be able to add a new allocation in the same period of time, you will be notified through an error message the persons have been already allocated.
- Check “Ignore people with overlapping allocations” and you will be able to continue with the multiple allocation only for the persons who have not been already allocated.