Creating a project
Adding a project is so easy and intuitive.
- Go to Management section from menu.
- Click on the Add button from the bottom right corner.
- Choose the option – Add project.
There are some sections which needs to be filled with information related to project.
1. LOGO
Add the logo related to the project to identify it easily in the list of projects.
2. GENERAL
Code*: Add the unique code that’s related to the project. This code helps you to identify easily the projects through the software. Usually companies are keeping the evidence of their projects through different codes if they’ve got a lot of projects. If you don’t have an official code with your client for the project, don’t worry, you can create one in the software application.
Name: Name of the project.
Client: Choose from drop-down list the client associated with the project or click on “+” to create a new client.
Status: Select the actual status of your project. You can change it whenever you want.
- Ongoing – the project is active, the team is working on it.
- Potential – this might be a potential project which has not been confirmed yet.
- Onhold – the project is on hold for the moment.
- Opportunity – the project might be a very good opportunity and it shouldn’t been missed to sign for it.
- Closed – the project is closed.
Start date*: Start date of your project is mandatory to be filled.
End date: It’s not mandatory to be added, you can change the date later.
Description: Any details related to the project.
3. BILLING
Project type*: Choose one of the option:
- Billable Fixed Price: project which is billable and have a fixed price agreed.
- Billable Time and Material: – project which is billable, the revenue per project is based on the hours burned within a budget.
- Internal – project which is not billable, internal projects of your company.
Budget in hours: This field is mandatory to be filled when you have a “Billable Fixed Price” project. Track in this field the total hours of your project. If you want to track for each phase of the project or activity in the project, check this article. You can add hours with decimals.
Budget in money: Add the budget of your project in money, how much you will invoice your client.
Expenses budget: Track the budget for expenses for each project.
Billing type: You can choose to bill “hourly rate” or “daily rate”.
Default daily rate / hourly rate: Add the rate per hour or per day agreed with the client for the project.
Currency: Choose the currency separately for each project in part.
4. PROJECT MANAGEMENT
Logged hours are automatically approved: If this option is checked, the hours submitted by persons on the project will be automatically approved and there is no need as a person to approve the hours manually.
Logged hours must be approved: If this option is checked, the hours submitted on project will not be automatically approved, a project manager will have to review and approve manually the hours.
Everybody can log hours: If this option is checked, any person can add the projects into timesheet and log hours on it.
Only allocated people can log hours: If this option is checked, you can limit the persons who have the right to log hours and to see the project, so only the person who have been allocated on the project can log hours, any other person can’t do it.
Allocation workflow for Project managers:
- Project managers can allocate all: A project manager can allocate any person from the company on the project.
- Project managers can allocate only project team: A project manager can allocate only the persons who have been added in the table “Project team” of the current project.
- Project managers needs approval on allocation: A person in charge will need to approve the allocations of the project manager.
Project manager table:
Add here the persons who have the role as “Project Manager” for the project.
The users who are added in this table can approve the timesheet submitted on this project.
Only the users who has the following access levels: “Project Manager” , “Project Director”, “Accounting” or “Administrator” can be added into the table and they will have full access to the project data (rates, allocations and so on).
5. TEAM & CUSTOM RATES:
Project team
In this table you have to add the team that is working on the project and for each team member to set up the role (job title).
Project job title rate
In this table for each role (job title) you have to set up a specific rate.
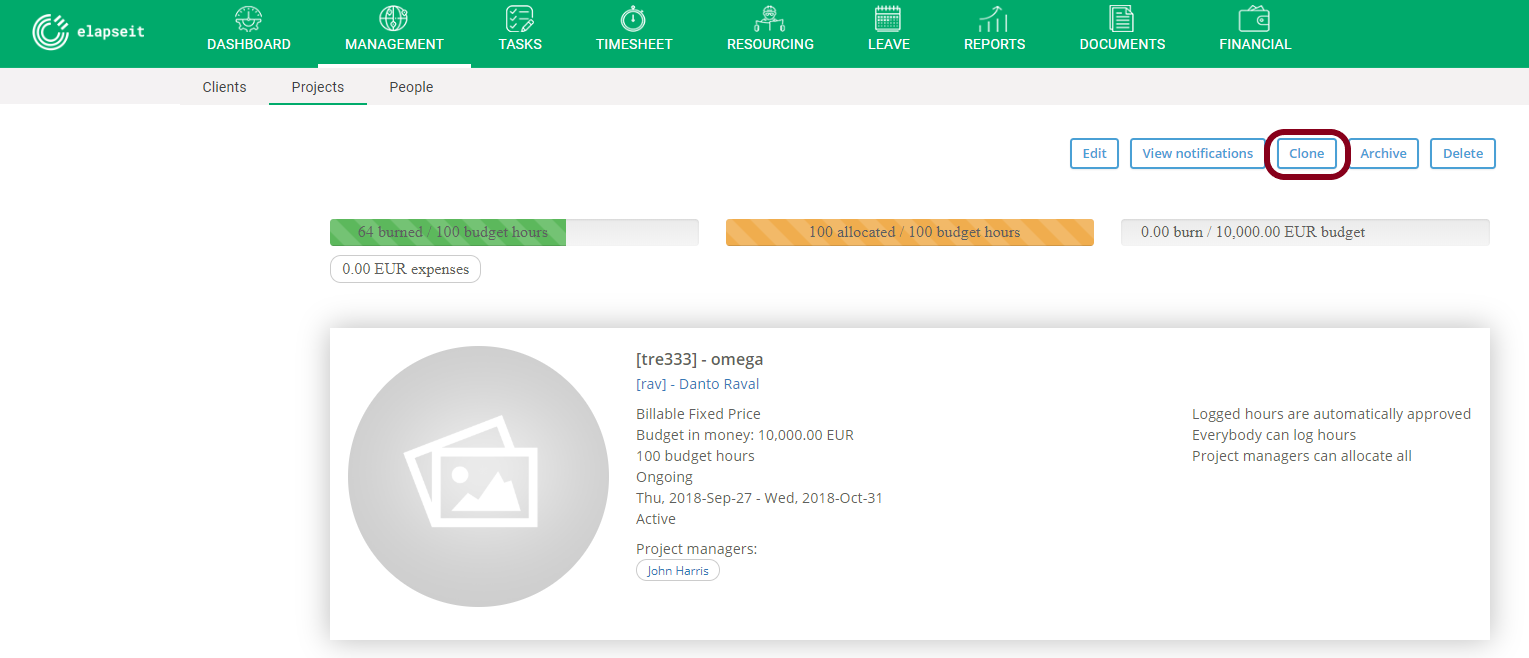
Cloning a project
If you have a similar project into system and you need a new one, there is no need to start creating from scratch the project.
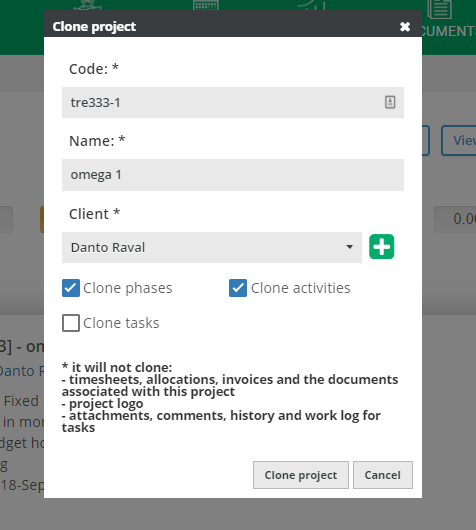
Go to the project that you want to clone it, click on “Clone” button and select what exactly what you want to clone:
- Clone phases
- Clone activities
- Clone tasks
The following data will not be cloned:
- Timesheets, allocations, invoices and the legal documents associated with this project
- Project logo
- Attachments, comments, history and work log for tasks